
White oak
Look for straight grain and an even surface along the ledge. White oak is hard enough to take everyday knocks, but drill pilot holes for the small brass screws before installation.
Build practical things with modest tools. Bench Notes publishes small projects, compares materials and shows the decisions behind each handmade piece.
Explore the entry shelf ↗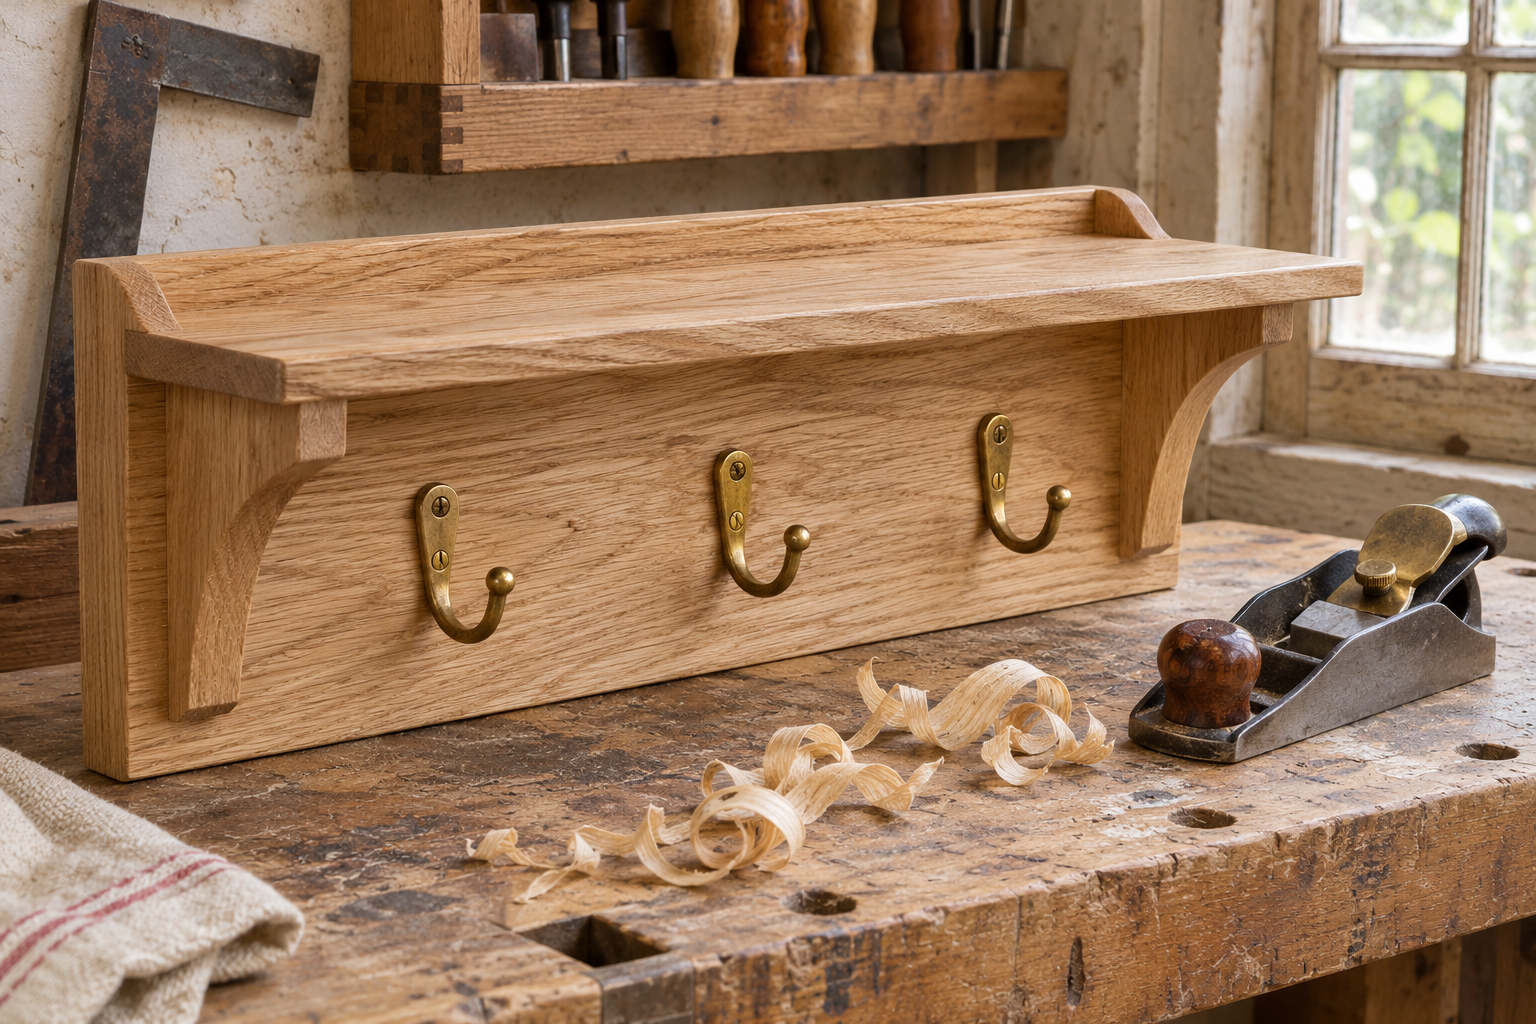
A shallow ledge holds mail. Three brass hooks keep keys and a small bag off the counter. The prototype uses an 18 × 5-inch backboard and an 18 × 3-inch ledge from the same board so the grain reads as one piece.
Lay out the pattern on paper and move the hooks around before drilling. Mark each board’s reference face, then dry-fit the two pieces before rounding the edges or applying finish.
Start with straight, surfaced ¾-inch stock. Cut a backboard and ledge to the dimensions above, check both ends for square and mark the ledge position across the backboard. Center the outer hooks about 3 inches from each end and space the third evenly between them. Choose mounting hardware rated for the shelf and appropriate for your wall.
Look for straight grain and an even surface along the ledge. White oak is hard enough to take everyday knocks, but drill pilot holes for the small brass screws before installation.
Choose poplar if you’re painting the shelf. Inspect both faces for cupping at the lumber rack and prime an offcut first to see how your chosen paint covers the grain.
A sharp block plane makes a clean chamfer when the grain cooperates. A firm sanding block is easier to control for lightly breaking an edge or cleaning up around hardware recesses.
Enter dimensions in inches and the number of matching pieces. The tool multiplies thickness, width and length, then divides by 144. Use rough-stock dimensions when comparing a quote for rough lumber.
Set an allowance for trimming and defects. The result estimates volume. Bring a cut list to the yard to make sure the boards can yield the lengths you need.
Send a photo of your bench, a sentence about what you were trying to build, and one thing you changed during the creative process. We look for practical details other makers can try, such as a better way to hold a narrow piece for sanding.
Share a project ↗Sand a scrap to the same grit as the project. Apply finish to half, let it dry according to the label and look at it next to the unfinished wood in the room where it will live.
Save straight scraps long enough to test a hole or finish. Put them beside the project before sweeping up so a useful sample doesn’t get lost in the bin.